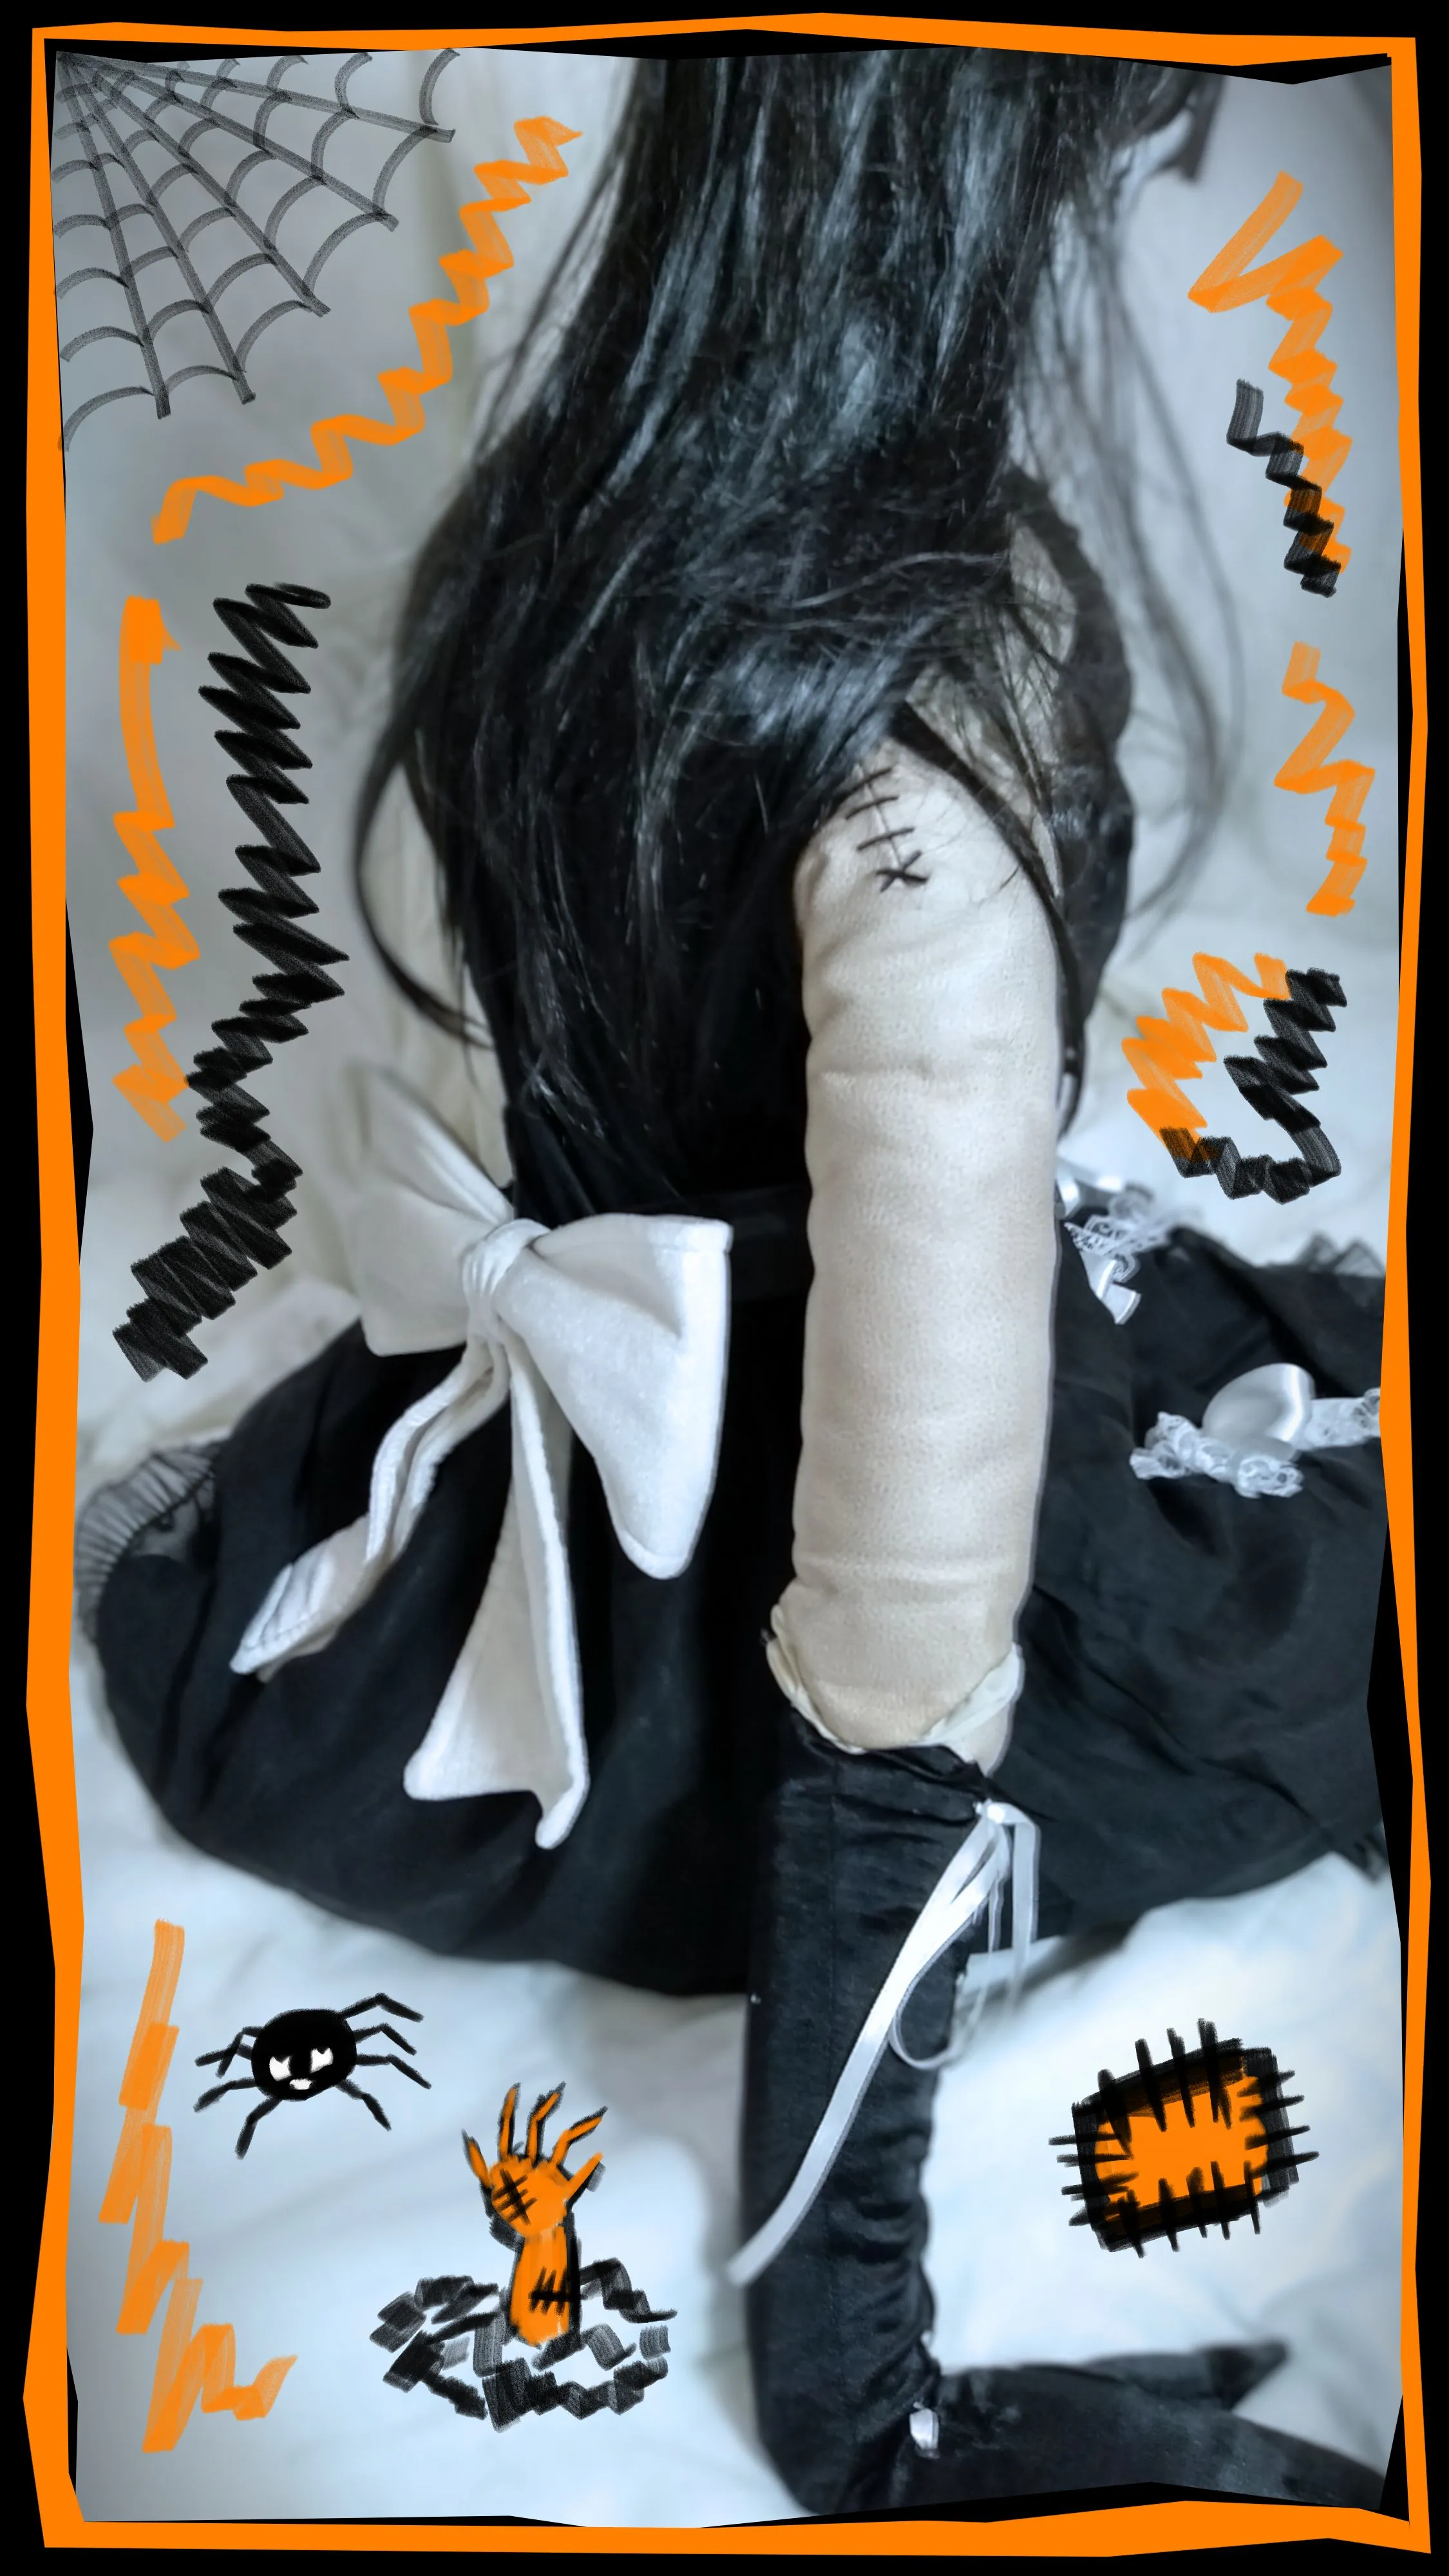
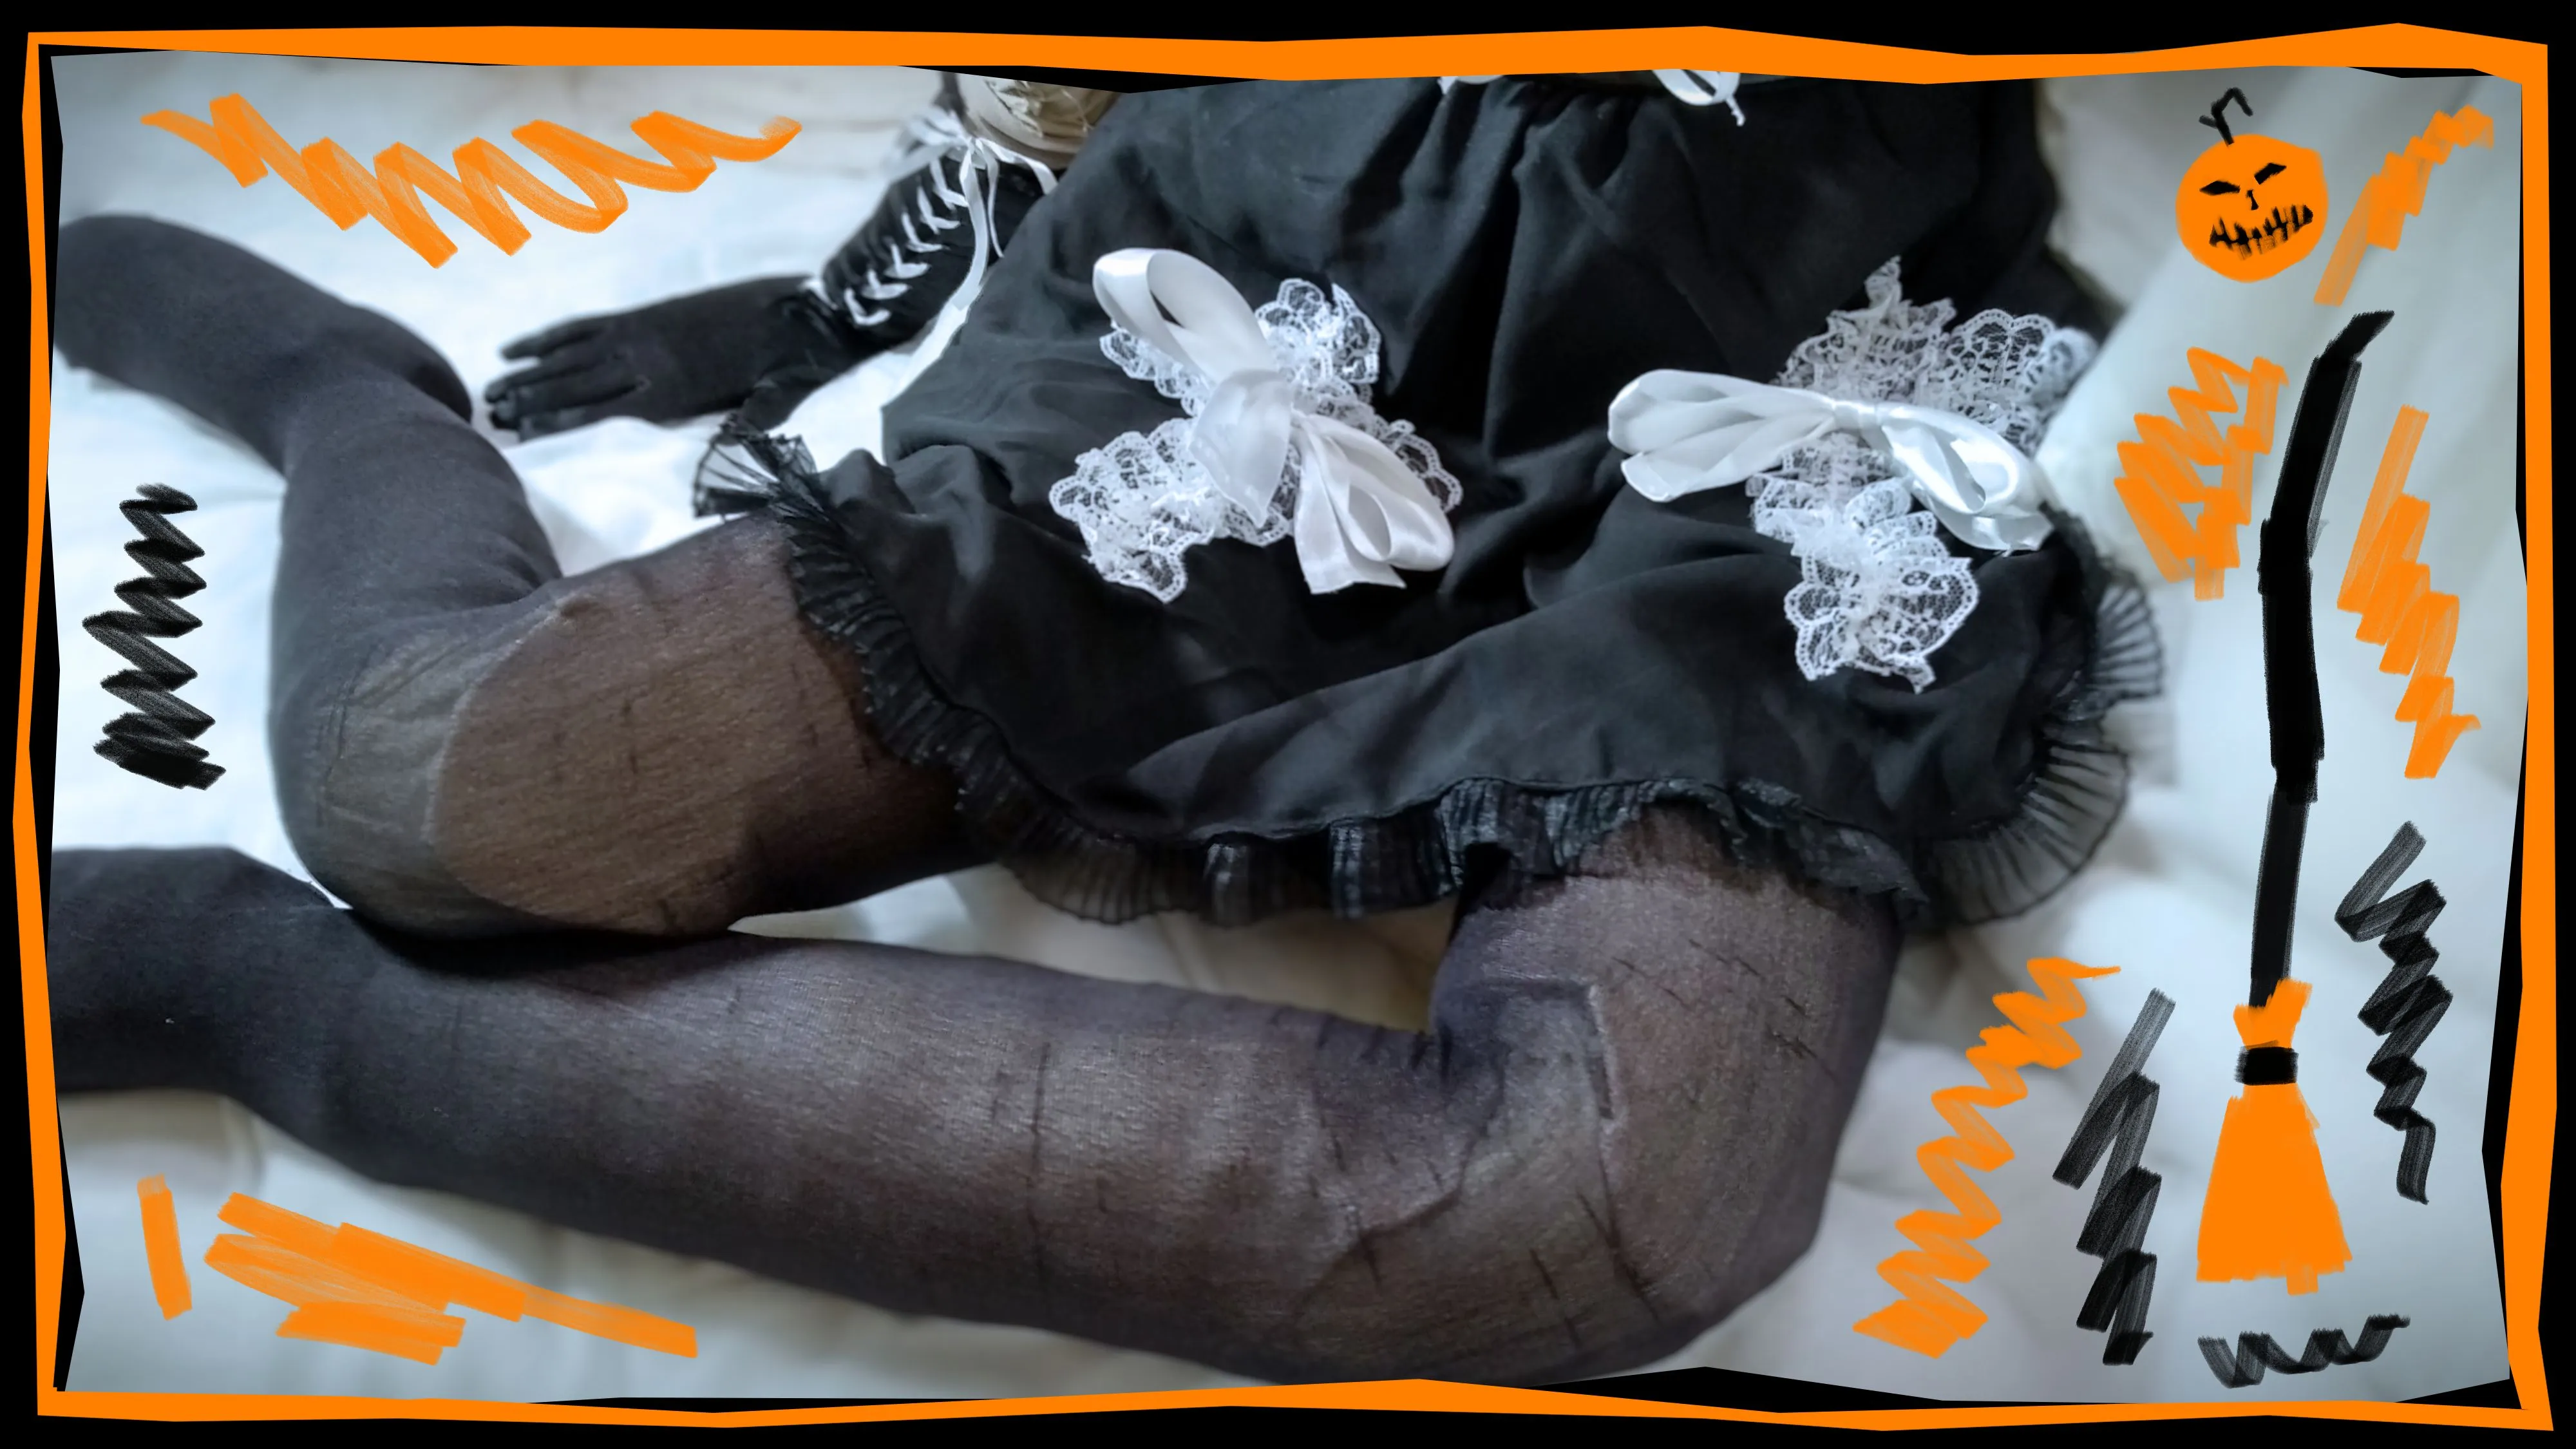
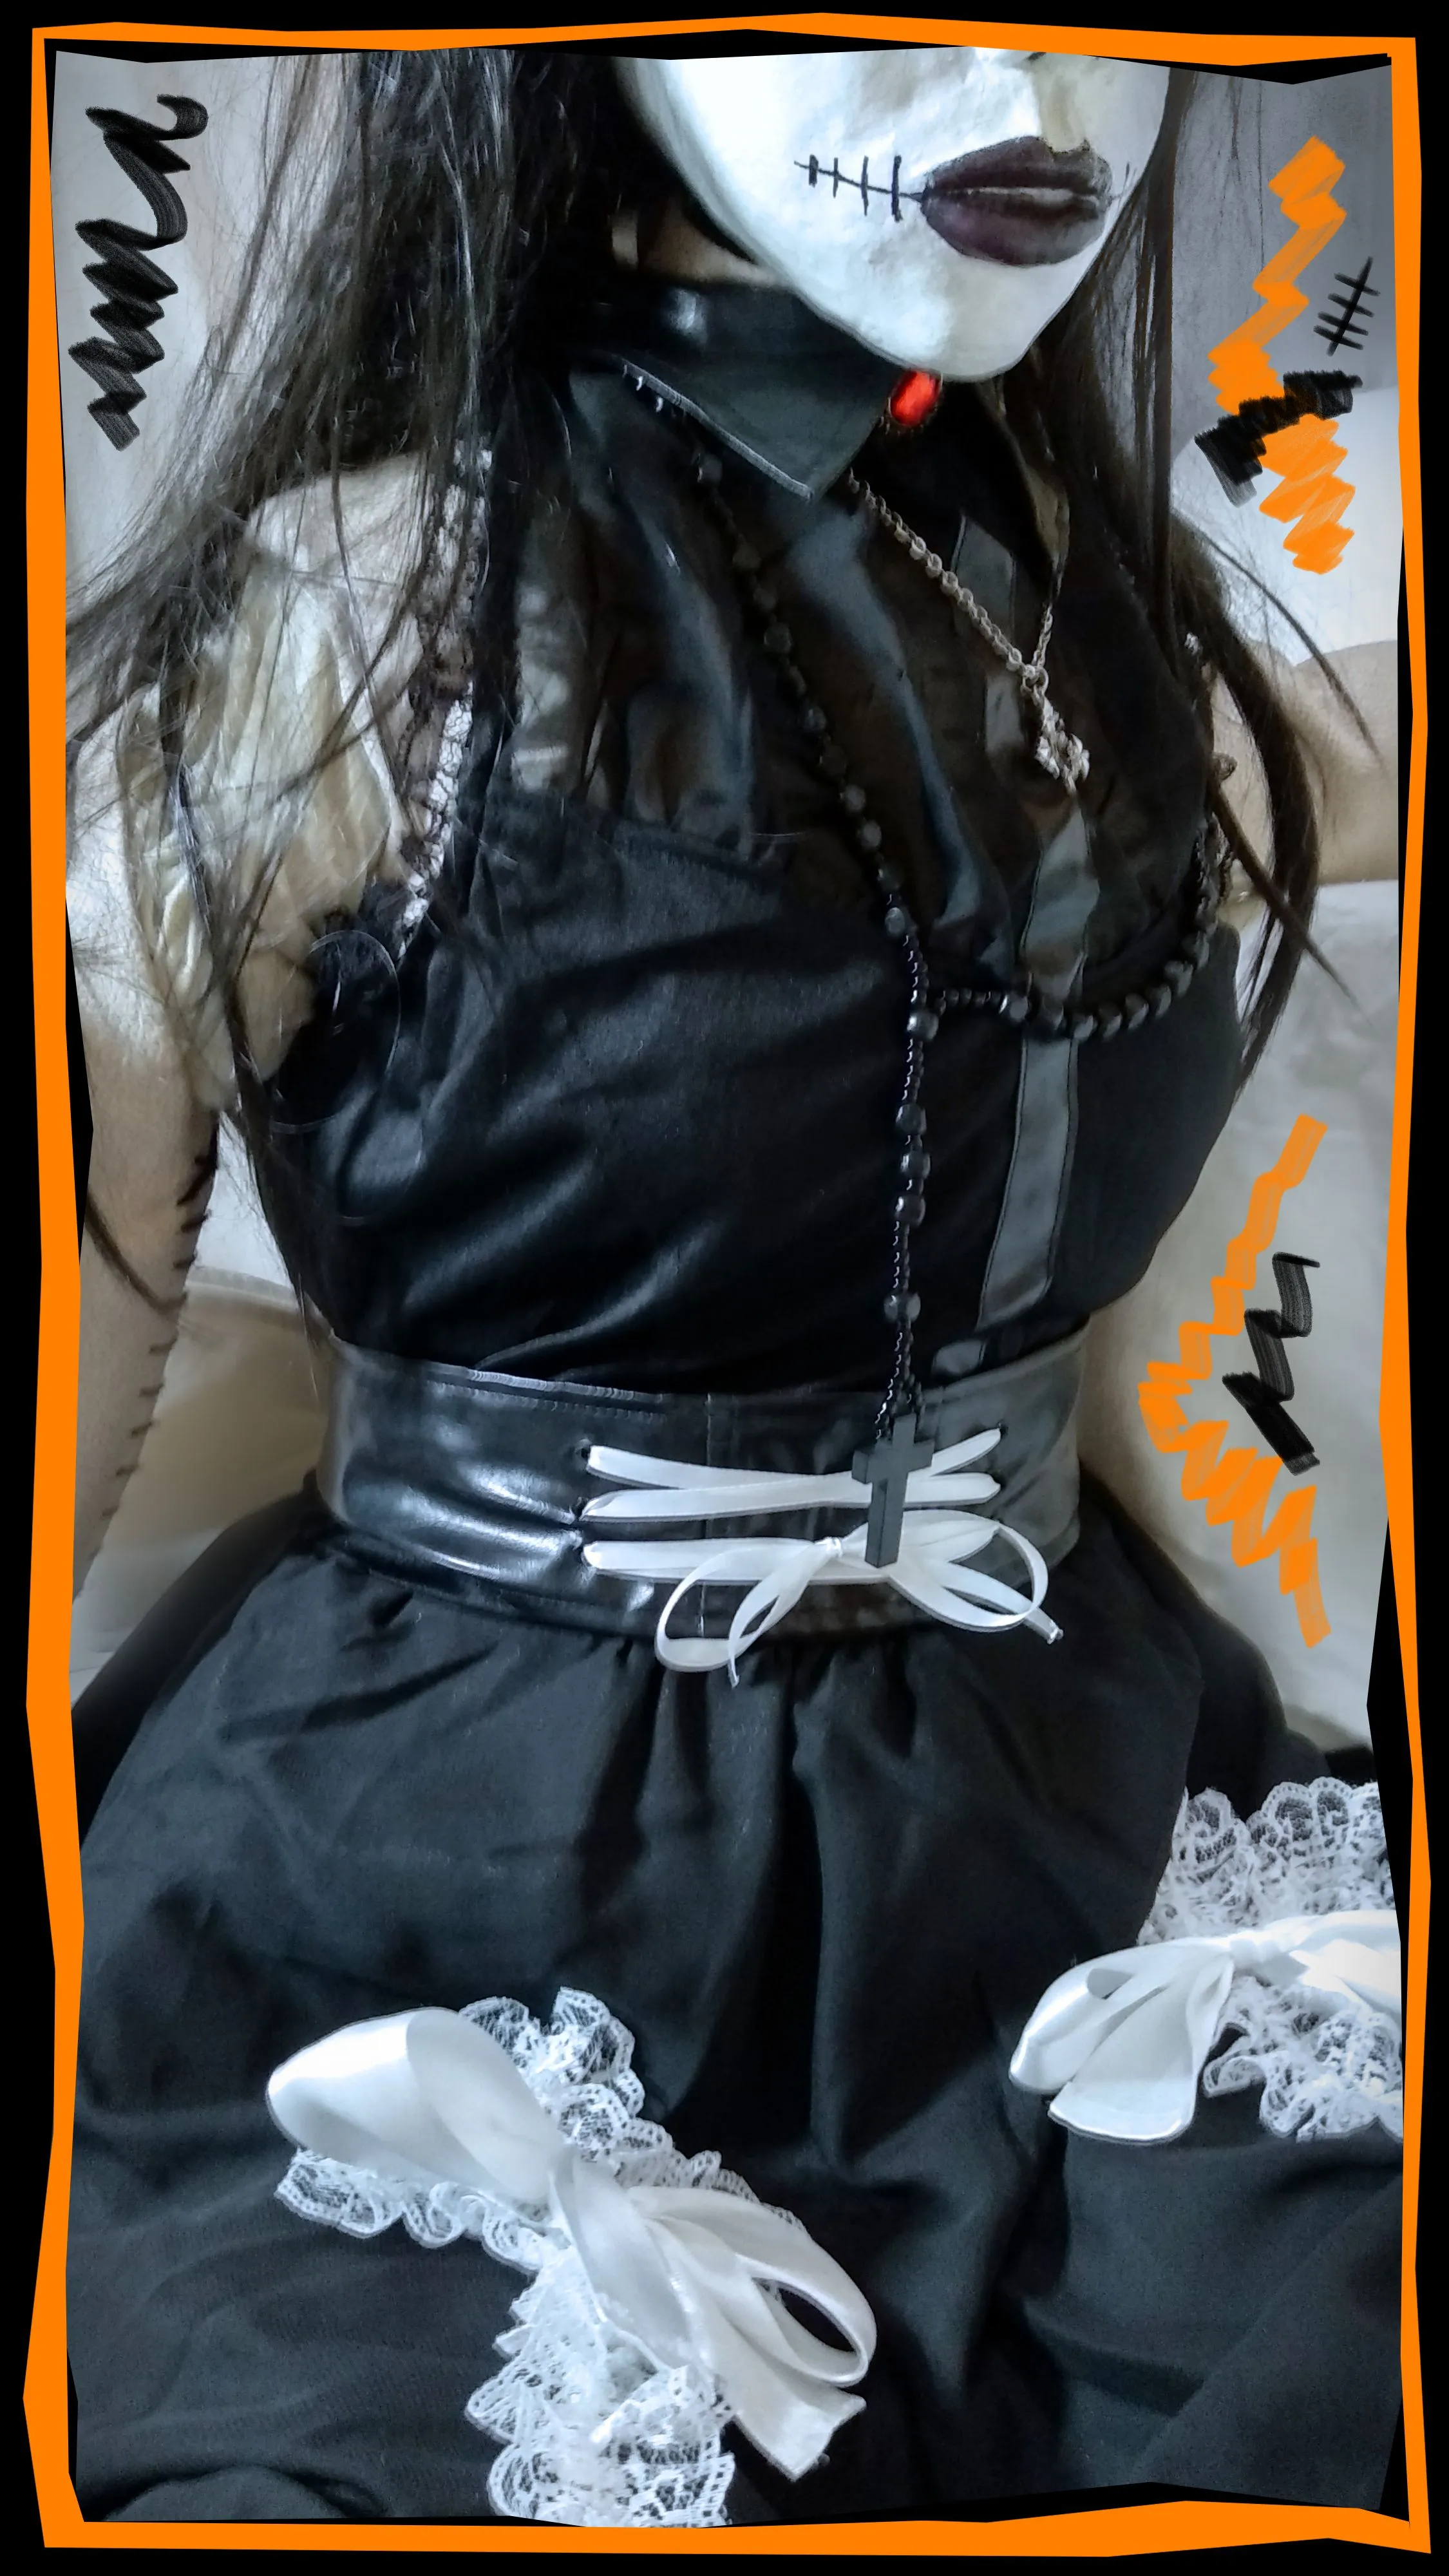
Celebrating my favourite month right.


Breakdown
Techniques
| Crafts: | Hand Sewing | Crafting the body, amending the clothing |
| Clay Sculpting | Crafting the Face | |
| Paper Mache | Crafting the head armature | |
| General Handywork | Support structure and other features | |
| Acrylic | Painting the Face | |
| 3D: | Autodesk Maya | Base Head Model |
| 2D: | Adobe Photoshop | Concept Drawing |
| Adobe Illustrator | Sewing Patterns |
Brief
Seeing as it’s my favourite month of the year, I’ve decided to create a mega project for
myself, which is, a life-sized articulated doll. This would serve as an immediate
challenge, as I’m a newcomer to sewing with patterns, and I have no access to a machine.
However I did it anyway.
Project Date: Aug-Oct 2023
Sewing Patterns - Torso
It begins with acquiring some sewing patterns. I got my torso pattern from here and my arms pattern from here. The legs I did myself, but more on that later. I had to put a lot of thought as how to approach this, as the patterns were designed for a static mannequin.

Sewing patterns are printed out and assembled on paper

The patterns are cut onto the leather, and the pieces are sewn together
The patterns are printed out on paper and taped together. This is then used to cut out the pieces on the fabric chosen. For the body, I opted for a light brown leather. The ends were painstakingly back-stitched manually.

Torso pieces, front and side

Torso all sewn round
Skeletal Structure and Muscle Definition
Meanwhile, I am thinking about the internal structure. I have a rough idea of how the skeletal structure will look like. The most important thing to tackle at that moment was the joints.
Ball Joint Mk I: For this, I constructed a ball joint by inserting a ping pong ball into a PVC double socket, held in place by a lip made with hot glue. A bolt is inserted into the ping pong ball.

Ball joint and holder

Ball joint inserted
To get the torso to retain it’s shape while keeping some hardness, I opted for a hard foam that’s easily accessible, so I used foam noodles. However they were harder than anticipated, so a softer foam layer was applied outside. This softer filling was sourced from old pillows.
Rib Cage Mk I: Foam noodles were cut in half length wise, and wrapped around a thick wire. The circumference is reduced so the shape tapers at the top.

Single ‘rib’, made with foam wrapped around a thick wire

More ribs stacked, softer foam encases the outside

All stuffed up
Some issues were present now. I noticed the ball joint was not allowing enough rotation for a reasonable amount that a real limb would. The rib cage was also too thick, even after reducing the amount of foam and shaving off some of the noodle foam.
Ball Joint Mk II: The best solution that didn’t require a rethinking was too a double ended ball joint. This would lengthen the joint a bit, but allow for more than 90 degree rotation, just enough were it would be acceptable. I also replaced the bolts with longer ones and started them off from the inside to allow more threshold.

Longer bolts now

The double ball joint, also pictured is the fittings to test the length is OK
Rib Cage Mk II: I decided to do away with the softer foam as it was impossible to get the right amount of stuffing in all the right places, keep the outside layer, and just cut down the ribs to the right size.

The outside layer would cushion it a bit

The torso is stuffed up till the waist
Moodboard
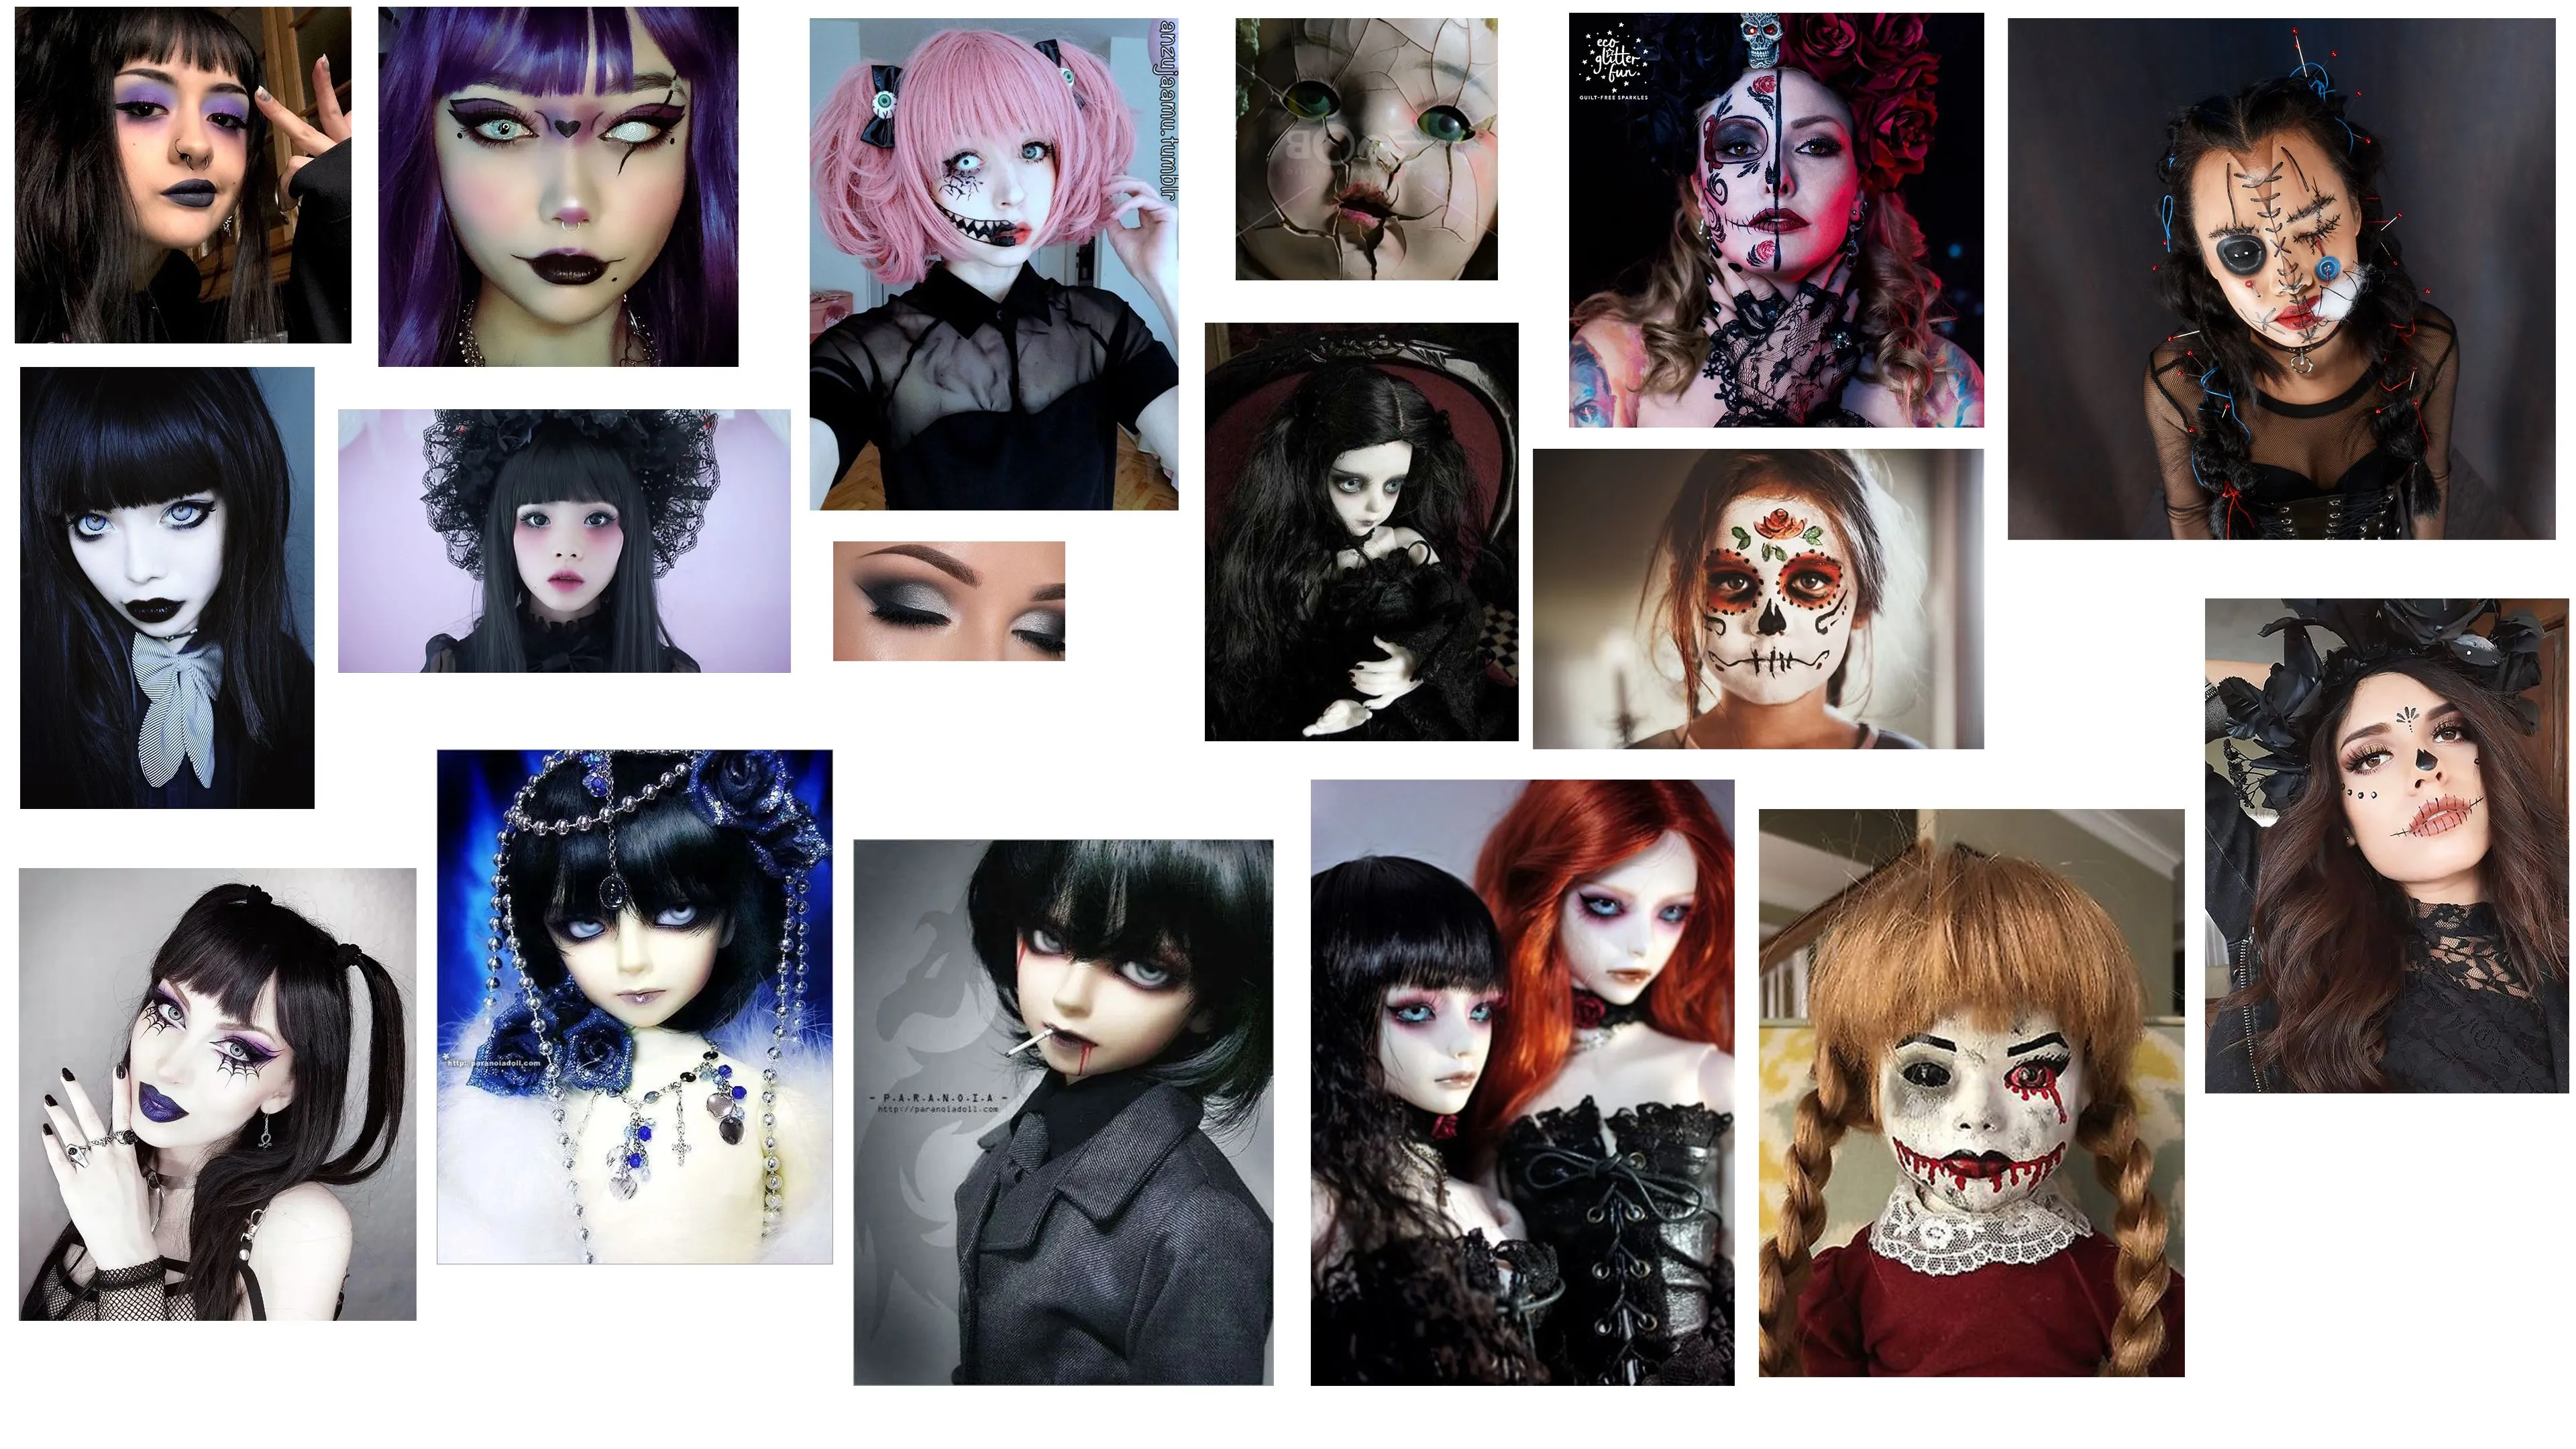
At this point, I knew roughly what I wanted the style to be, but not enough to finalise a design. After researching into different genres of Gothic aesthetic, as well as collecting references for all related design cues, I settled for a Gothic Lolita style. I would do my best to adhere to this style while not being overly strict with its rules.

Digital Concept Art and Planning
At this point, I was trying to source a pattern for the legs. However I had come to a realisation that sewing patterns weren’t that different from UV unwrapping a model. So using a body model I had, I was able to create my own leg patterns with a snapshot of a UV unwrap later cleaned up and edited in Illustrator.
Concurrently, I needed to start drawing to have a better idea how to do any cosmetic stitching before closing up the holes on the fabric. I first started sketching some ideas for the head first, as an ongoing search was being done for locally sourced costumes that would best fit the look I’m going for.

Eventually, I decided on a design. I wanted to keep it simple and monochromatic. I designed a head using a character creator and exported the mesh to have a turnaround to sketch on. I also tried out different facial expressions.

Body Concept Mk I: The body consists of the parts segmented by visible joints. Black cosmetic stitches would run along different seams to give it a patchwork design. The dress design is based on a witch Halloween costume. For now I had only picked a handful of accessories, and haven’t designed any frills, laces, and ribbons that are so emblematic to Lolita fashion.


Body Concept Mk II: The joints are a lighter colour, and this was after physically having the stitches done on the torso and realising I was unhappy doing it random on the front, so I redid it in a more orderly fashion. The dress I changed to another costume I found more suitable, and several ideas for the lace and ribbon work are added.


Finalising the Torso
Going back and forth between designing in digital and working on the real thing, I slowly assembled the rest of the parts that make the torso. The skeleton consists of the PVC pipe that’s connected together by several fittings that hold the ball joints in place. A zipper is sewn in the back for easy access to the inside. I had also bought some bed stuffing as I ran out, and the chopped pieces of foam were giving a roughened texture to the leather. This stuffing is soft and flat and provided a better look.

Ball joints for the legs

Fully stuffed, Mk I design

Fully stuffed, Mk II design
Legs
The legs are a similar process for the torso, although easier given their simpler shape. Here, the joints only need one axis of movement. Therefore a simple joint was made by flattening the pipe at each end of the limb, and drilling a hole for which a bolt holds them together.

Leg joint keeping the leg parts together

Leg stuffings making up the inside

Leg attached to torso
Arms, Hands, and Feet
The arms are pretty much the same design as the legs. The feet are simply cardboard with some foam attached stuffed in socks. The hands are the same in latex gloves. However these would prove too big for the actual gloves, and so were redesigned with cardboard, wire, and properly sized fingers.

Full Body

Redesigned Hand
Head and Neck
The head was a bit of a conundrum for a while. I’ve thought about different ways of doing it, mostly veering to some form of casting method. But what seemed the best approach at first was paper mache. The idea would be to make an armature to put paper mache on top, and then some form of plaster to smoothen it. The armature is made from foam and masking tape. However I would need a more accurate shape before I would start the mache. So I sculpted the face out of plastiline, a non-hardening clay. The 3D model for the head I had would also be used as a reference point.
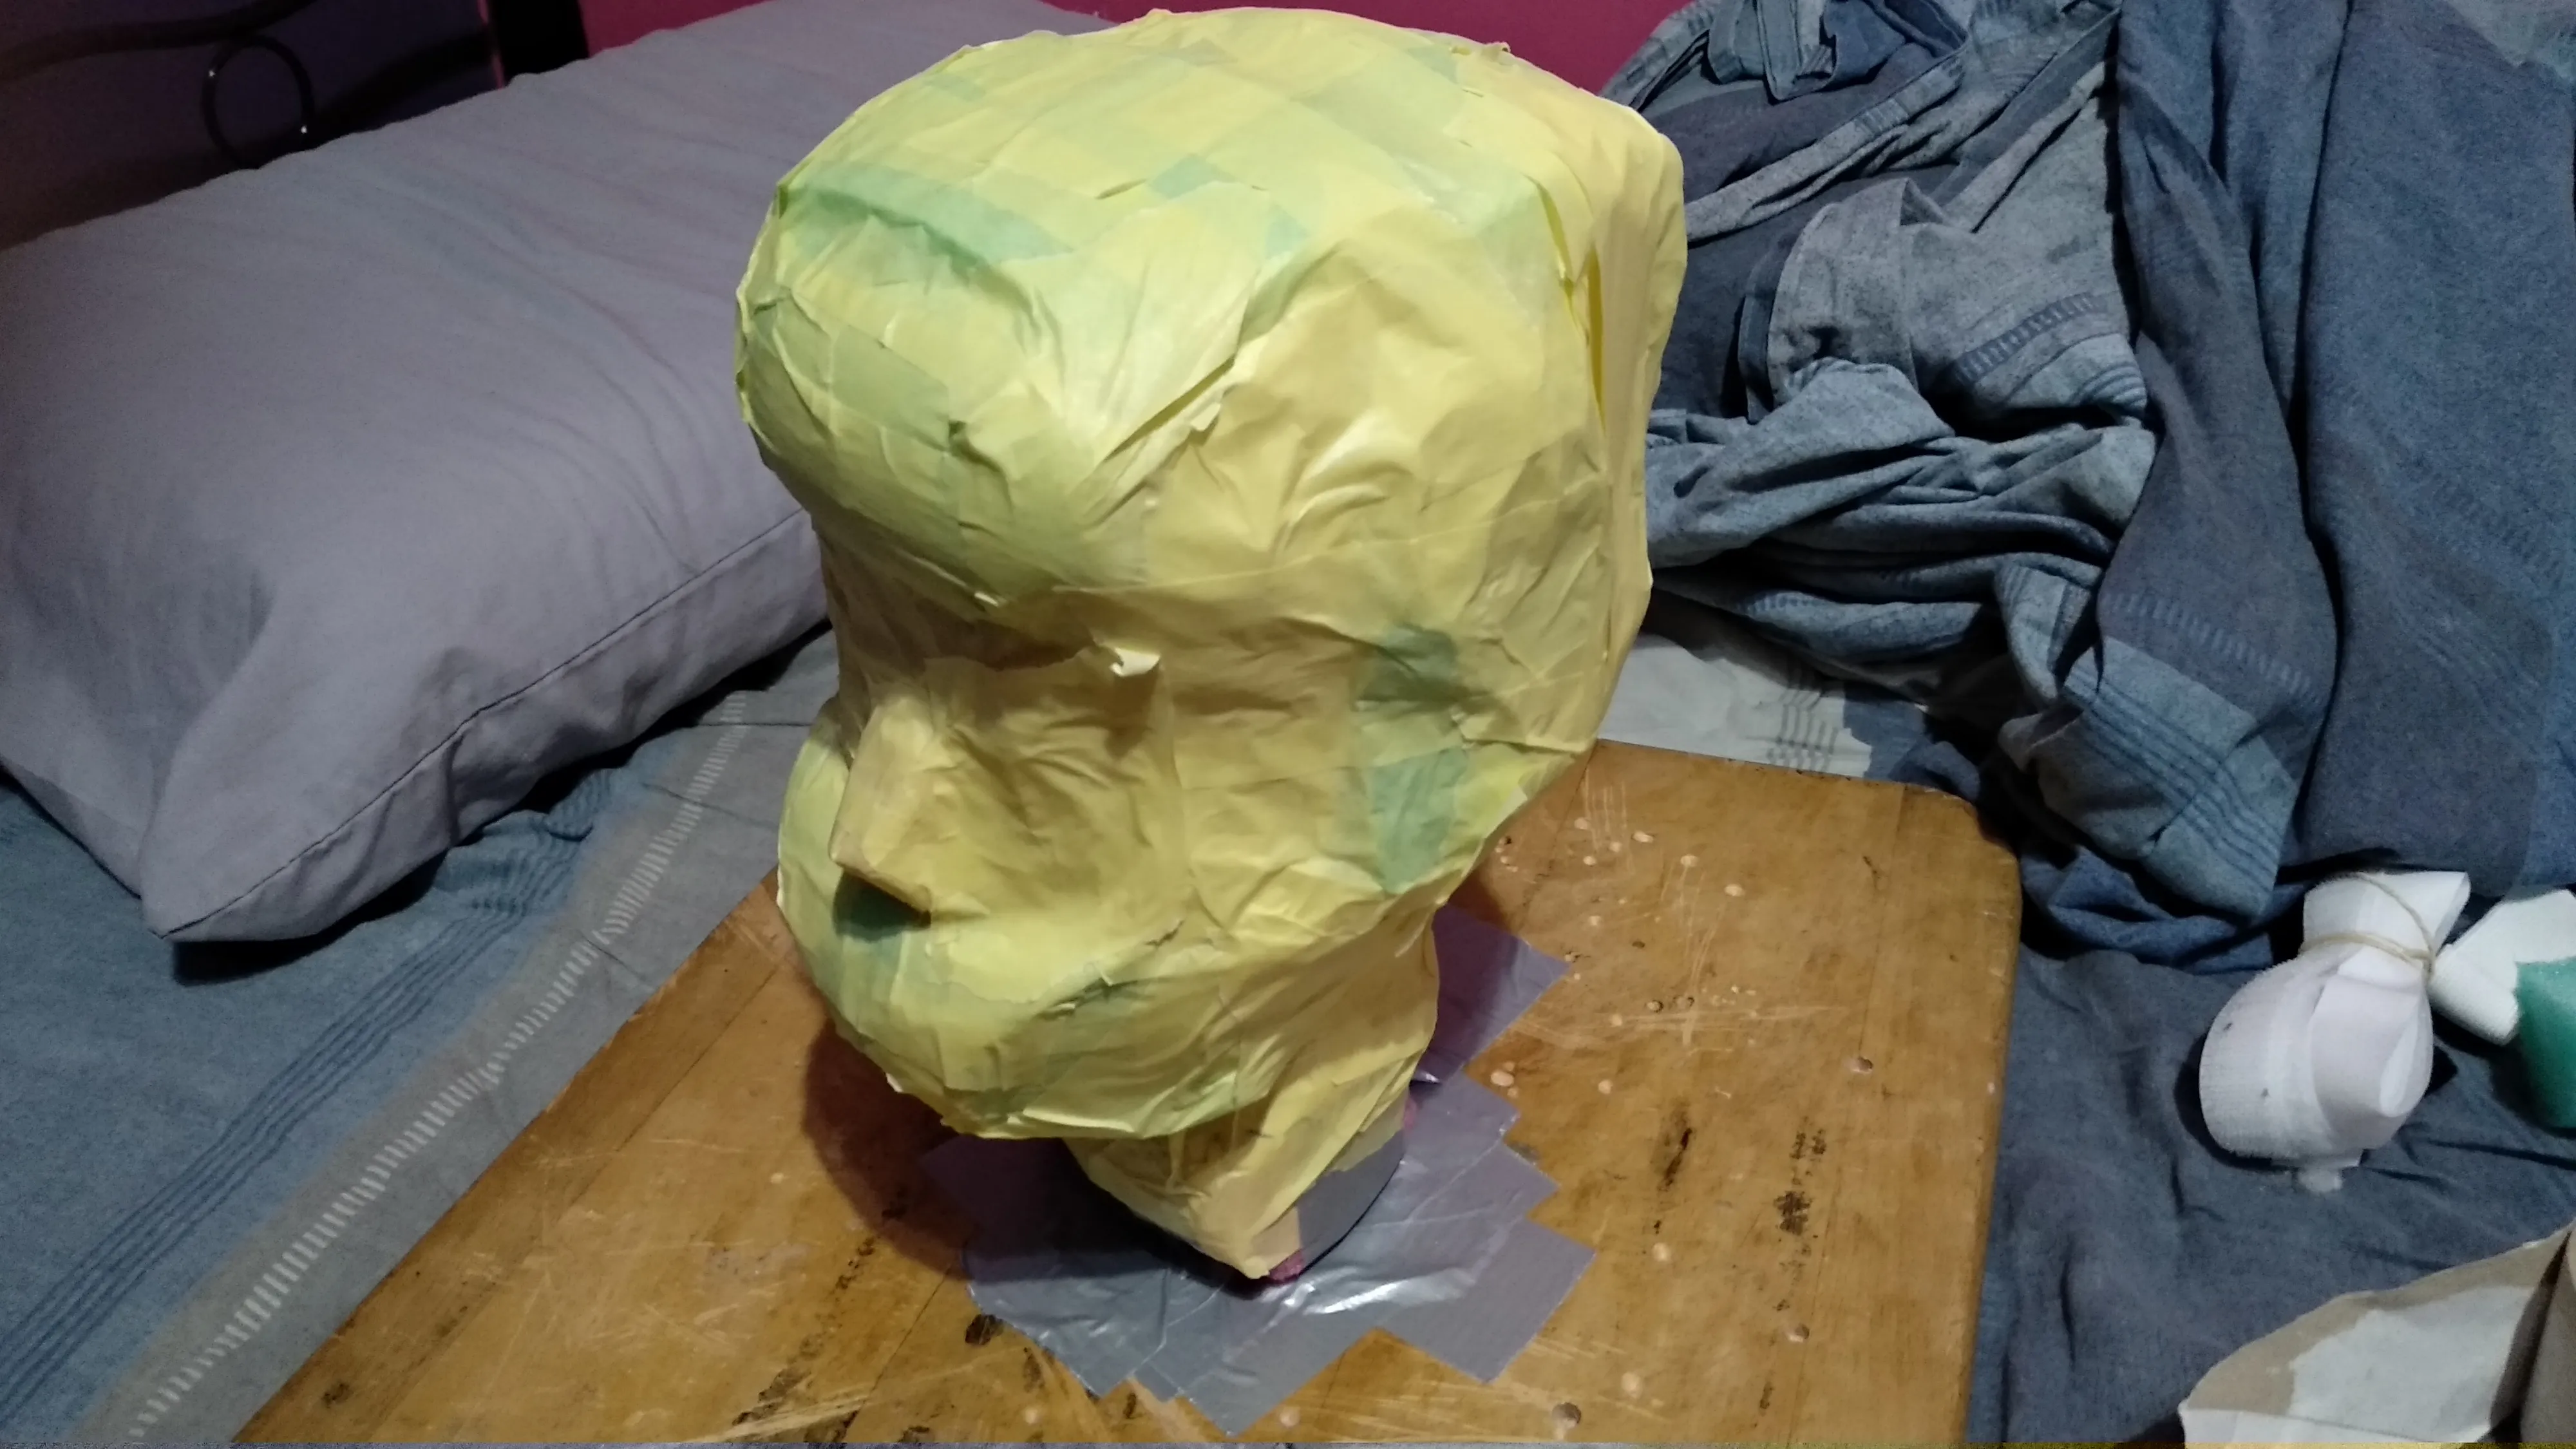
Head sculpture

Plastiline sculpting on armature

Finished sculpture
Head Mk I: My first idea was to use a paper mache clay recipe. This would be more akin to a dough clay then the traditional paper strips. It would then be covered with a thinner layer of reinforced plaster/glue combo. However my attempt wasn’t very good and the texture was too rough and thick, so I abandoned that idea.
Head Mk II: I decided to take my time and do it with strips of brown paper instead, which wasn’t that time consuming anyway. The result was quite good, and it seemed hard and sturdy.

Mk I, using paper mache clay

Mk II, using paper mache strips
However, something was apparent. The head was becoming too thick compared to the reference. Even knowing and accounting that it would be thicker than the armature, it was too much. So I began thinking what I could do. I could make a reverse cast with the ‘mask’ that I have. But what I decided to do is to make a separate mache head that uses the mask as the armature; this time though, from the inside. Meanwhile, I needed to create some eyes before I lock them behind the head. The eyes are simply ping pong balls with iris printed on glossy paper glued to them, then varnished with gloss.
Head Mk III: The paper mache strips method is applied again, but this time at a reduced size as it’s modeled on the inside.

👀

Eyes on an armature

The reduce-sized strip mache mask
All seemed fine, until a closer look at the reference showed a discrepancy at the eye area. The proportions were not correct, and this was not fixable without starting over. In fact, I would need some way to guarantee the armature was proportionally correct.
I began mulling over what to do at this point. The only way to get something so accurate would be to 3D print it, which would be costly and inaccessible. I thought about that idea a lot when I realised something about how 3D printers work. If I could emulate how a 3D printer constructs a 3D model by layering slices of the model on top of each other, it might be feasible. But my printer of choice would be a regular paper printer. With some work done in Maya, I sliced up the 3D model and took snapshots of each one. It wouldn’t be for each unit of movement, but spread out every couple of centimeters or so. Just enough to get a better proportioned head. And this time, I would measure out a thickness and cut it out so it would take in account the thickness of the final material.
Head Mk IV: Several slices of the head are printed out on paper. They are stacked on each other. Guide points that I put on each one make sure they are aligned properly, held by some kebab sticks inserted in each one. The in between is 2 layers of foamboard, so it maintains a consistent thickness.

Head slice printed on paper

Slices stacked on each other

Finished head armature

And sealed with masking tape
As for the outside material, I decided to sculpt it again, this time with air dry clay. This would harden to a rock like finish which can be sanded off. Any noticeable extremities would be filled with plaster and sanded off again. This came out better than all my previous attempts, and while it’s not a 100% likeness as I’m not a sculptor by trade, it was good enough where I could move on to the final stages. Also worth mentioning, this time I only focused on the front on the face, to keep it sturdy where before I had issues keeping it in place. The back of the head would be made separate, and then joined together by drilling some holes and gluing in dowels, and then gluing the whole thing together, sealed with plaster at the edges. For very small rough surfaces, I took some putty and smoothened it out over it.

Head sculpture pre drying

After drying, touched up with some plaster

Two pieces of the head
Once I was happy with it, I sealed the entire head with several layers of PVA glue to strengthen it and prevent breaking. I primed the head with some Gesso, and used acrylic paints for the base coat and makeup. I couldn’t achieve a soft look for the eyeshadow as I’d hoped, but it was at a point where the project was taking too long and couldn’t be bother to look into other paints. Finer stuff like the stitches were drawn with a black marker. Finally, it was sealed with a high gloss varnish.
As for the neck, I took some plastic caps, they were the perfect size for the bolts. I drilled a hole in each and joined them together with a bolt. The caps each had a pipe that would hold the head on one end and the other goes into the rest of the skeleton. To prevent the head from rotating more than it should, I restricted the movement by fixing a square hook and a bolt to the upper piece.

Neck parts

Neck pieces bolted together

Full neck mechanism
Dress and Accessories
The base of the costume consists of a Halloween witch costume, mixed with several other accessories I found. However, I would have to modify it further to look more like what I planned in my concept.
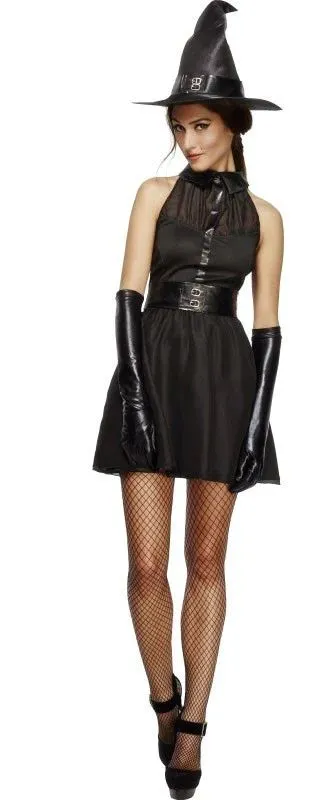
Product photo (Accessories not included)

Trying out the costume on the doll
A varying set of frills, lacework, and ribbons were used to achieve this. For most of it, it was straightforward. Just sew it on. The lacework cross was done by sewing to ends together to make a wider lacework pattern, and a handmade bow sewn on top.

Frills and lacework

Lacework on shoulder hole

Big bow (premade) attached to back

Lacework cross with handmade ribbon

Frills on bottom of dress
For the narrow ribbon laced on the belt and gloves, a little more work was needed. Eyelets were painted black and then punched through a hole to let the ribbon through like a shoe lace. The gloves had to be cut so the ribbons would be what tightens it in place.

Making the cuts on the gloves

Laced up glove

Laces on belt
The rest of the accessories just needed to be put on. This includes a lace headband, a red gem choker, a silver gothic cross, a black bead rosary, and black tights. And a wig, of course. And with that, concludes an over 2 month project.
Conclusion and Results
This has been a test that pushed me to the limit of my capabilities. Definitely underestimated the length of time needed. If I had access to better tools, I would do certain things better. I wanted the head to be smooth as porcelain. But perhaps the tacky nature will add to the unsettling nature. But I am glad I got to fulfill something I wanted to do and saw it through till the end. And with that, Happy Halloween! 🎃 👻